

How to Add an AI Chatbot to Your Website
Want to automate your support? Tired of answering same question again and again? I'll teach you how to add a chatbot in your website to do all this
AJ Malik
AJ Malik is an AI and automation expert specializing in chatbot development and customer experience optimization.
Did you know that over 90% of customers expect an immediate response to their support queries? In today's on-demand digital economy, every missed question is a potential lost sale. AI chatbots are no longer a luxury; they are a critical tool for providing instant, 24/7 support, automating repetitive tasks, and actively engaging website visitors to drive conversions.
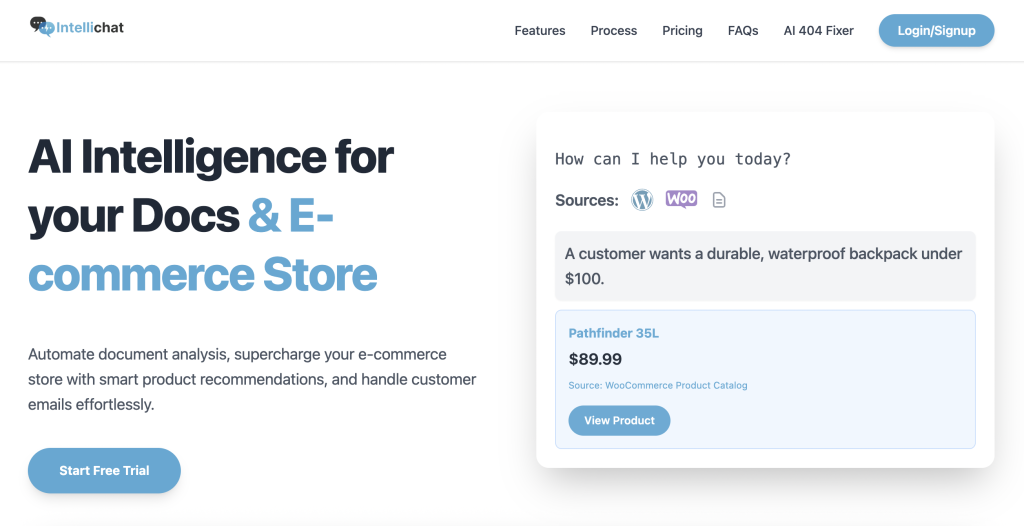
While many chatbot platforms exist, IntelliChat is engineered from the ground up for businesses that need more than just canned responses. With powerful AI for document analysis, seamless e-commerce integration, and enterprise-grade security, it stands in a class of its own.
This definitive guide will walk you through a simple, no-code process to add an IntelliChat AI chatbot to your website. We'll also provide a head-to-head comparison to show you exactly why it's the superior choice over competitors like Tawk.to and Botpress.
The Undeniable Benefits of an AI Chatbot on Your Website
Integrating an AI chatbot immediately transforms your website from a static brochure into a dynamic, interactive sales and support engine.
-
Never Miss a Lead with 24/7 Support: Capture and answer customer queries around the clock, dramatically reducing response times and boosting satisfaction even when your team is offline.
-
Automate 80% of Repetitive Questions: Free up your human agents from answering the same FAQs over and over. Let the bot handle routine inquiries so your team can focus on high-value, complex problems.
-
Increase Sales with Smart E-commerce Integration: Proactively engage shoppers with personalized product recommendations, guide them through checkout, and reduce cart abandonment with seamless WooCommerce integration.
-
Drive Engagement and Reduce Bounce Rates: Turn passive visitors into active participants. A chatbot greets users, answers their questions in context, and keeps them on your site longer, increasing the chance of conversion.
How to Add IntelliChat to Your Website: The Complete Walkthrough
Integrating IntelliChat is designed to be incredibly straightforward. You don't need to be a developer. Follow these steps to get your powerful AI assistant live in minutes.
Step 1: Sign Up for a Free Account on IntelliChat.io
Your journey begins with a free plan that's perfect for testing the waters. It includes one chatbot trained on up to 10 sources.
- Navigate to the IntelliChat.io Login/Signup page.
- Create your account.
- Select the Free Plan to start immediately. You can upgrade anytime.
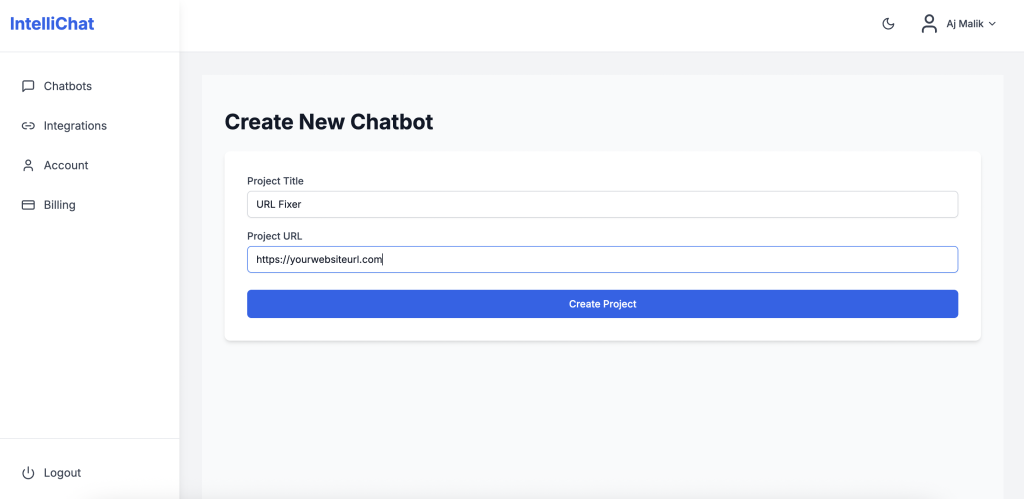
Step 2: Create Your First AI Chatbot
Once you're logged into your dashboard, creating the chatbot instance is a single click away.
- Click the prominent "Create Chatbot" button.
- Give your chatbot a memorable name (e.g., "Website Support Pro").
- Click Save. Your chatbot is now created.
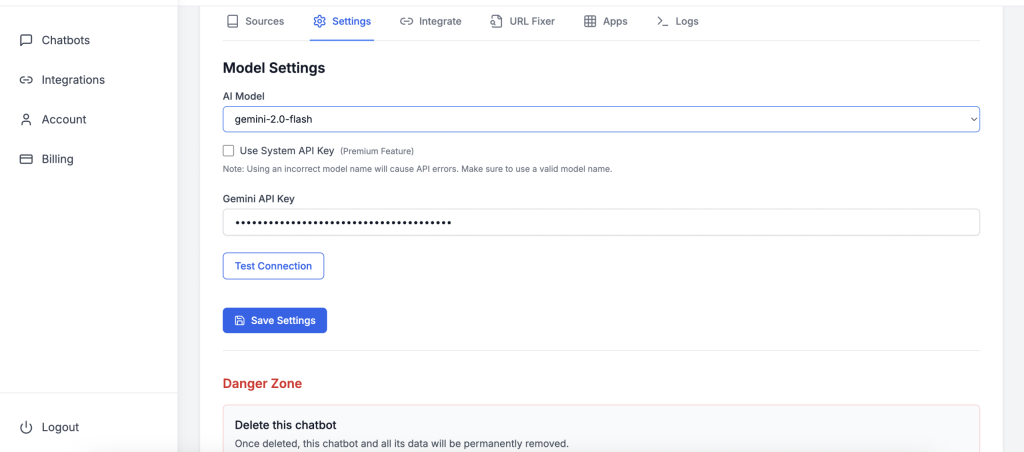
Step 3: Add Your Gemini API Key (Free Plan Only)
The free plan leverages Google's powerful Gemini AI. To enable it, you just need to add a free API key.
- In your IntelliChat dashboard, navigate to Settings.
- Locate the Gemini API Key field.
- Go to Google's AI Platform (aistudio.google.com) to generate your free API key.
- Copy the key, paste it into the field in IntelliChat, and save.
Pro-Tip: Upgrading to any paid plan (Basic, Standard, or Premium) removes this step entirely. IntelliChat provides built-in access to all Gemini models, making setup even faster and giving you more power out of the box.
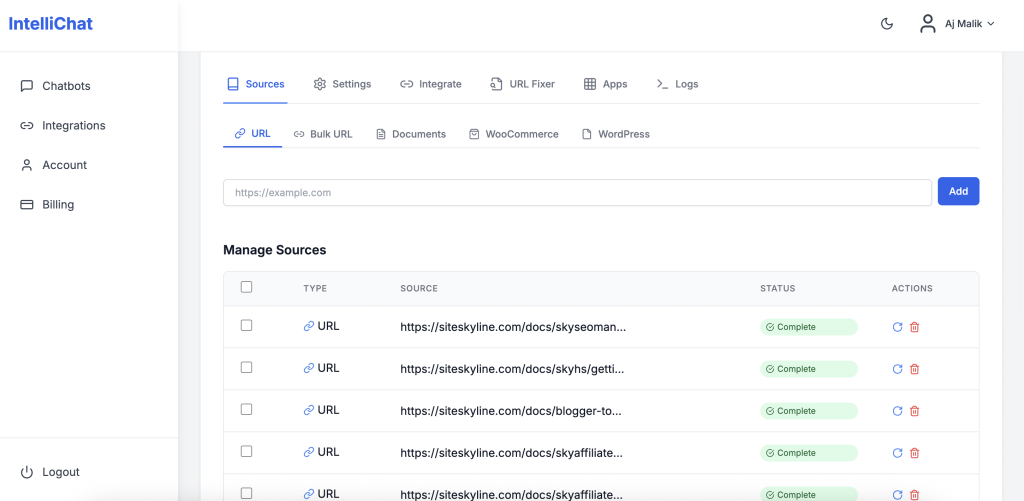
Step 4: Train Your Chatbot with Your Website Content
This is where the magic happens. Teach your chatbot to be an expert on your business by feeding it your website content.
- Go to the Source tab in your chatbot's settings.
- Select the Bulk URL option.
- Enter the URLs of key pages like your homepage, about page, pricing, FAQs, and product pages.
- Click Submit. You can monitor the real-time processing status until it says "Completed."
- Optionally, upload documents like PDFs, DOCX, or TXT files to give your chatbot an even deeper knowledge base.
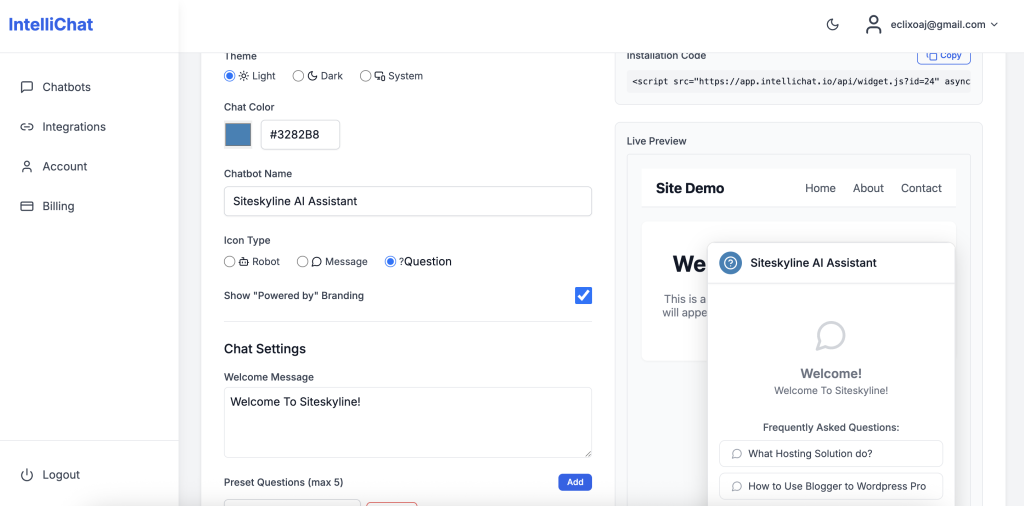
Step 5: Customize Your Chatbot's Appearance
Ensure your chatbot perfectly matches your brand's look and feel.
- Navigate to the Integrate tab.
- Under Customization, you can adjust:
- Theme: Choose between Dark or Light mode.
- Welcome Message: Craft a warm, engaging greeting (e.g., "Welcome! Ask me anything about our products or services.").
- Preset Questions: Add one-click questions like "What are your prices?" to guide users.
- Icon and Colors: Change the chat bubble icon and colors to align with your brand palette.
Step 6: Integrate the Chatbot onto Your Website
You have two simple, no-code options for adding the chatbot to your site.
-
Script Tag (For a Site-Wide Chatbot):
- Copy the provided script tag.
- Paste it into your website's HTML code just before the closing
</body>tag. Most website builders (WordPress, Wix, Squarespace) have a custom code or header/footer script area for this.
-
Iframe (For a Specific Page/Section):
- Copy the iframe code.
- Paste it directly into the HTML of a specific page where you want the chatbot to be embedded, like a contact or support page.
Which one should you choose? Use the Script Tag for 99% of cases. It's easier and ensures the chatbot is available to help visitors on every page. Use the Iframe only if you need the chatbot to appear within a specific content block.
Step 7: Test and Go Live!
Before announcing it to the world, have a quick conversation with your new AI assistant.
- Ask it a few questions you expect your customers to ask.
- Ensure the answers are accurate and reflect the content you provided.
- Once you're happy, you're officially live! Monitor the analytics in your dashboard to see what users are asking and continuously improve your content.
Why IntelliChat is the Clear Winner:
-
Superior Document Intelligence: No other competitor on this list handles advanced document (PDF, DOCX) Q&A as seamlessly, making it perfect for businesses with technical manuals, legal docs, or extensive resources.
-
Built for E-commerce: The deep WooCommerce integration for smart product recommendations puts it leagues ahead of others for online stores.
-
Unbeatable Value & Scalability: The free plan is genuinely useful, and paid plans offer all-inclusive AI access without hidden fees, unlike Botpress's resolution-based pricing.
-
Exclusive, User-Focused Features: The 404 URL Fixer is a unique, valuable tool that improves UX and SEO—something no competitor offers.
Pro-Tips to Maximize Your Chatbot's ROI
-
Think Like Your Customer: When adding preset questions, use the exact phrasing your customers use. Check your support emails for inspiration.
-
Optimize Your Source Content: A well-structured FAQ page on your site will lead to a highly accurate chatbot.
-
Balance Automation and Human Touch: Customize the chatbot's settings to provide an email or contact option if it can't answer a query, ensuring a smooth handoff to your team.
Frequently Asked Questions (FAQ)
-
Does IntelliChat work on platforms like Shopify, Wix, or Squarespace? Yes! Because it integrates with a simple script tag, IntelliChat works on virtually any website builder or platform that allows you to add custom code.
-
Is my data safe with IntelliChat? Absolutely. IntelliChat is built with enterprise-grade security and secure API handling to ensure all your business and customer data remains private and protected.
-
What happens if the chatbot doesn't know the answer? You can configure a fallback response, such as "I'm not sure about that, but you can reach our support team at [email protected] for more help." This ensures the user is never left at a dead end.
Conclusion: The Future of Your Website is Conversational
Adding an AI chatbot is the single most effective step you can take to modernize your customer support and boost engagement. With IntelliChat, the process is not only simple but also incredibly powerful. By following this guide, you can deploy a custom-trained AI assistant in minutes and gain a significant edge over the competition.
Its advanced document processing, e-commerce intelligence, and superior security make it the undisputed choice for businesses ready to grow.
Ready to see the difference? Start Your Free IntelliChat Trial Today and Revolutionize Your Customer Engagement!